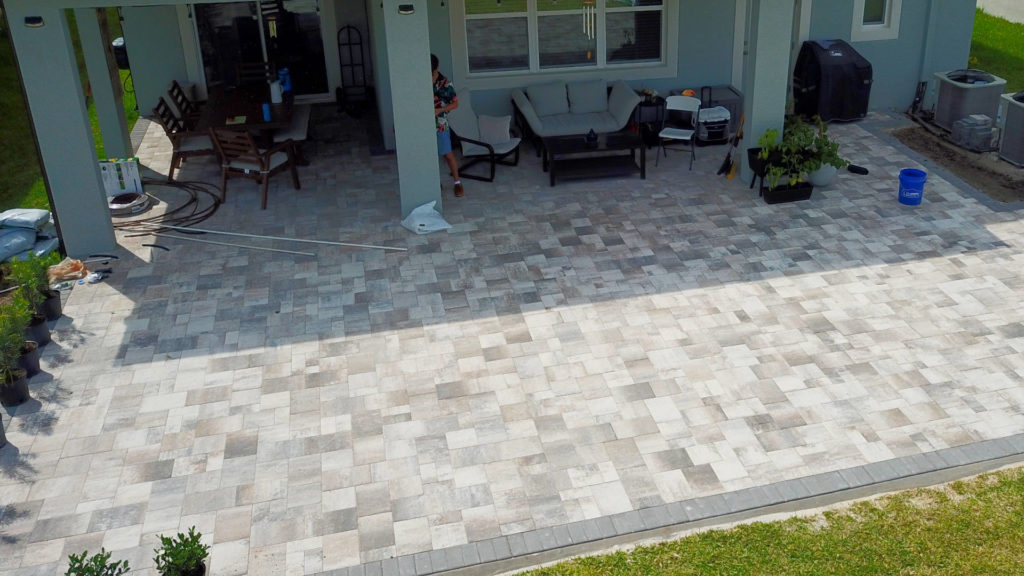
Adding a brick paver walkway to your Central Florida home not only enhances its curb appeal but also provides a charming path for strolling through your garden or welcoming guests to your doorstep. If you’re ready to embark on a DIY project that combines creativity and practicality, follow this step-by-step guide to create a stunning brick paver walkway that will withstand the unique climate of Central Florida.
Keywords:
- DIY brick paver walkway
- Central Florida
- Brick paver installation
- Paver walkway project
- DIY outdoor project
Materials You’ll Need:
- Brick pavers
- Coarse sand
- Crushed stone
- Edging material (plastic or metal)
- Landscape fabric
- Wooden stakes
- String
- Rubber mallet
- Tamper
- Level
- Joint sand
- Sealant (designed for pavers)
- Broom
1: Planning and Preparation
- Design: Sketch out your walkway design, considering the path’s dimensions, curves, and any desired patterns.
- Marking: Use wooden stakes and string to outline the path, giving you a visual guide for excavation.
- Excavation: Dig out the marked area to a depth of around 6 inches, accounting for the thickness of the pavers, sand, and crushed stone.
- Landscape Fabric: Lay landscape fabric over the excavated area to prevent weed growth and ensure a stable base.
2: Base and Sand Preparation
- Crushed Stone: Fill the excavated area with a layer of crushed stone, compacting it with a tamper to create a stable base.
- Coarse Sand: Add a layer of coarse sand over the crushed stone, using a rake to level it. Tamp the sand down to create a flat surface.
3: Installing the Pavers
- Start from the Edge: Begin laying the pavers from one end of the walkway, starting along the edge. Use the string as a guide to maintain a straight line.
- Pattern and Design: Lay the pavers in your desired pattern, whether it’s a classic running bond, herringbone, or something more intricate. Use a rubber mallet to gently tap each paver into place.
- Leveling: Check each paver with a level as you go to ensure they are even and aligned.
4: Adding Edging and Joint Sand
- Edging: Install edging along the sides of the walkway to keep the pavers in place. Use plastic or metal edging and secure it with stakes.
- Joint Sand: After all the pavers are in place, sweep coarse sand over the surface, allowing it to settle into the gaps between the pavers. This helps stabilize the walkway.
5: Sealing the Pavers
- Cleaning: Before sealing, ensure the pavers are clean and free from debris. Use a broom to sweep the surface.
- Sealant Application: Apply a paver-specific sealant using a roller or sprayer. Make sure to follow the manufacturer’s instructions and allow sufficient drying time.
6: Final Touches
- Clean Up: Once the sealant is dry, clean up any excess sand or debris from the surface.
- Enjoy Your Walkway: Your DIY brick paver walkway is now complete! Take a stroll and admire your handiwork.
Tips:
- Consider the climate of Central Florida when selecting sealant. Choose a product that offers UV protection and can withstand the region’s heat and humidity.
- Proper drainage is essential in Central Florida. Ensure the walkway slopes away from your home to prevent water pooling.
Creating a brick paver walkway in Central Florida can be a rewarding project that enhances both the functionality and beauty of your outdoor space. By following these detailed instructions and considering the unique climate of the region, you’ll create a walkway that stands the test of time and adds value to your home.
I personally find that i trust this platform — withdrawals are scalable features and reliable. Perfect for both new and experienced traders.
Your comment is awaiting moderation.